In this article I want to share my experience on building Telegram bot with Dart and Docker.
At the end you will have the working Telegram bot that was written on Dart, running in Docker container and hosted on VDS. You will be able to send messages to bot and get responses, and also send photos, store it on VDS and remove it if you want.
This article represents the real case where I had to download photos to VDS (which user sent to bot), send them to another database and then delete from VDS.
Ok, so to get all this done, we need to do the following:
- create a new bot with BotFather help;
- create new dart project and write the bot code;
- setup all necessary packages and plugins on VDS;
- run Docker container and test the bot.
The Telegram bot and VDS, that were used for this article, are deleted, so all specific data, like Telegram API token or VDS IP address should be replaced.
1. The new bot
It’s the easiest part, all we have to do is go to BotFather by clicking on this link and create a new bot.
Choose from Menu
Create a new botor type in text field command/newbot.You will be asked for a bot name (it may be not unique) and bot username which have to be unique and contains “_bot” at the end.
For this article I choose the ak_medium_bot username, and lastly the BotFather gave me the token to access to the Telegram API (like the one on the screenshot). You can always get it or reset with BotFather’s help.
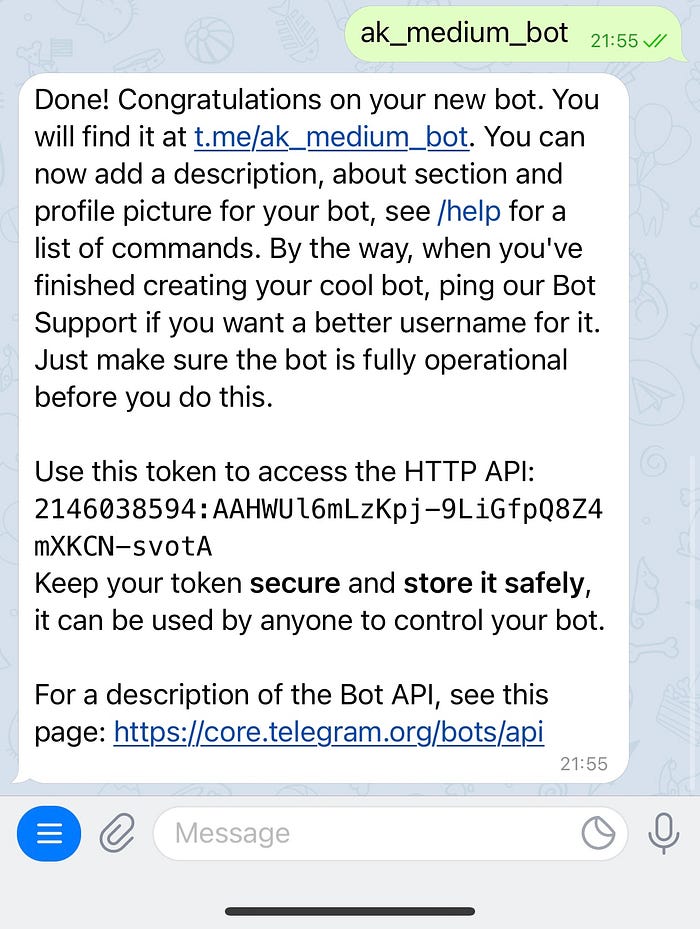
Done with it!
2. The Dart project
First, install Dart on you machine. All steps are described on official site and it’s quite simple, so you shouldn’t have any troubles.
After Dart was installed, open terminal on your Mac or Linux-based machine, switch to folder you want to store the project and run the following (you have to have root privileges): dart create -t console-full bot_medium (for more info about creating Dart projects please visit this site).
Now open the created folder in any IDE you like. For example, I use VS Code.
In terminal of your IDE run following to install Teledart package: dart pub add teledart .
Also delete lib and test folders with all files in it (we don’t need them now), then go to bin folder, open bot_medium.dart and replace it’s content with the following:
Important! Do not store API keys like it done in this article! Always keep it secret!
In summary, the code above start the telegram bot and waiting for user to enter defined keywords. If any keyword will be send to bot, it will trigger some action accordingly.
Next, let’s create a new file in the root of the project folder and give it a name Dockerfile, without any type or dot at the end. Fill it with following:
The Dockerfile create an Docker image from our Dart project.
Now it’s time to create a new repository, for example, on the GitHub, and with terminal in the project’s folder run following:
git init
git add -A
git commit -m "first commit"
git branch -M main
git remote add origin https://github.com/kharitonovAL/bot_medium.git
git push -u origin main
Your
git remote add origin https://github.com/kharitonovAL/bot_medium.gitwil be different. Pay attention here!
Great! Moving forward!
3. The VDS
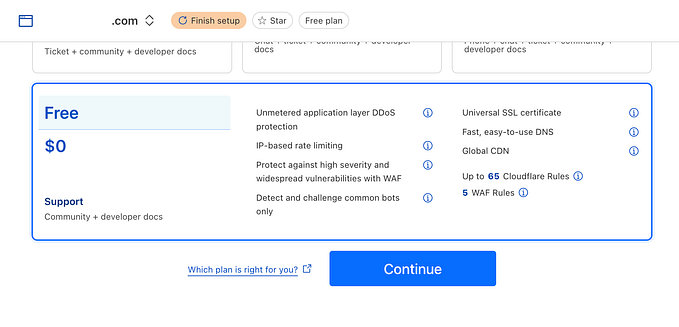
To let the bot be available 24/7 we have to run it on remote server. You can use any VDS service provider you want. As for me — I’m using reg.ru service, it’s cheap, stable and have preconfigured operating system’s images.
If you are using another VDS service provider, I recommend you to install Ubuntu with 18.04 or 20.04 version, like shown on screenshots:
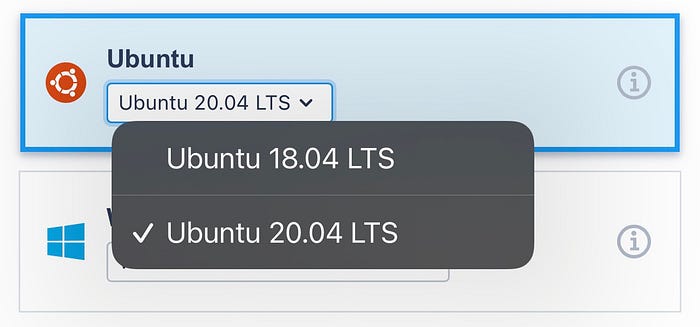
I choose 20.04 version for this article.
Ok, so now we have VDS running on Ubuntu with following parameters:
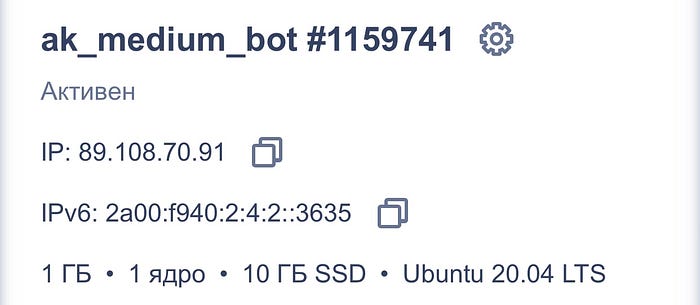
The password to the root user was sent to my email.
Now we have to connect to our server and install Dart and Docker.
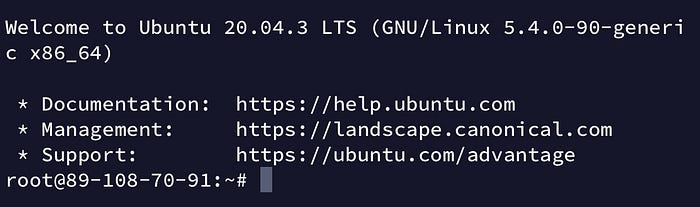
Use any ssh client or terminal to connect to server. If you are using terminal, run the following: ssh root@89.108.70.91. You will be asked for a root password.
If you did things right you will be connected to server:
Now let’s install dart on you VDS. All steps are described on official site.
After installation you can type in terminal dart --version to check that Dart installed:
root@89–108–70–91:~# dart — versionDart SDK version: 2.14.4 (stable) (Unknown timestamp) on “linux_x64"
Next, let’s install Docker like described on official site.
Verify that Docker Engine is installed correctly by running the hello-world image.
`sudo docker run hello-world`
This command downloads a test image and runs it in a container. When the container runs, it prints a message and exits.
Now let’s install official Dart container like described here.
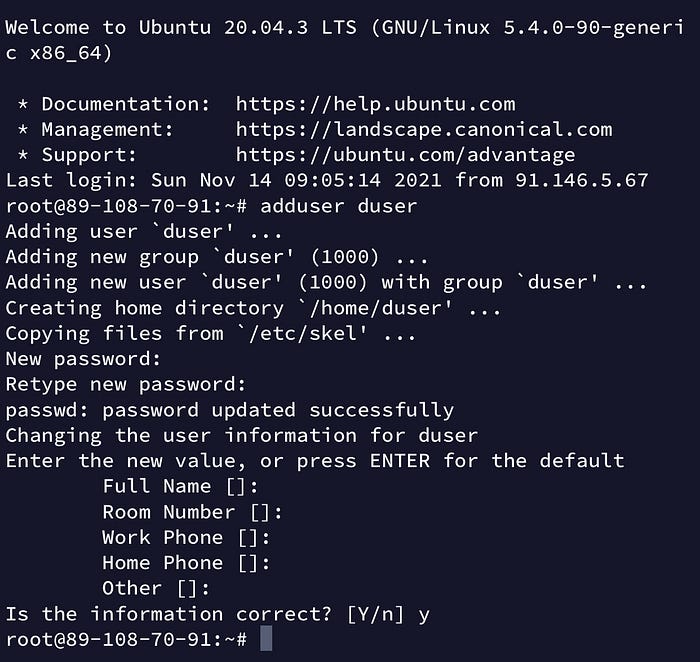
And now we need to create a new user for Ubuntu to build and run bot in Docker container later, so run in terminal following : adduser duser (you can choose name whatever you want). The output will be similar to what shown on screenshot:
Important!
Add new user to docker group like described here. There are two steps:
1. Create the
dockergroup :sudo groupadd docker2. Add your user to the
dockergroup:sudo usermod -aG docker duser(duser in my case).
Next we need to create a folder that we will attach to our container to save photos there. It’s a necessary step if you want to manipulate data with your container. If you won’t create and attach the folder to container, you won’t be able to save files. In other words - you can’t save file inside the container. You have to do this in host’s file system. You can read more about it here and here.
If you need to save files, you can change bot’s code accordingly. In my case I need to save photos (or images if you want), so do the following:
- go to root directory, when you done the path in terminal should look like this:
root@89–108–70–91:/#(starts with/); - go to
vardirectory by executingcd var; - create a new folder with name
uploadby executingmkdir upload; - type
lsand hit Enter.
You should see something similar in terminal:

If you want to test your bot on local machine first, create the upload folder with the same path.
If you see upload folder then you can move forward.
Ok, now lets clone our repository from GiHub. Go to the /home path and run the following: git clone https://github.com/kharitonovAL/bot_medium.git .
Nice, next step!
4. Build and run Docker container
So now you have everything settled up, let’s finish it.
Login with your new user (duser in my case). Go to the folder of your bot project (in my case it’s on the path /home/bot_medium, and build the Docker image with the following: docker build -t dart-server . (and yes, there are a space and dot at the end)
The output will be similar to the following:
duser@89-108-70-91:~$ cd ..
duser@89-108-70-91:/home$ cd bot_medium
duser@89-108-70-91:/home/bot_medium$ docker build -t dart-server .
Sending build context to Docker daemon  100.9kB
Step 1/12 : FROM dart:stable AS build
 ---> 91437c5c4a32
Step 2/12 : WORKDIR /app
 ---> Using cache
 ---> d9119631358f
Step 3/12 : COPY pubspec.* ./
 ---> Using cache
 ---> 2c5d1335e912
Step 4/12 : RUN dart pub get
 ---> Using cache
 ---> 0a673e765734
Step 5/12 : COPY . .
 ---> 7c7f640d4fa1
Step 6/12 : RUN dart pub get --offline
 ---> Running in 40222d0387df
Resolving dependencies...
Got dependencies!
Removing intermediate container 40222d0387df
 ---> ef8bfd2f84b3
Step 7/12 : RUN dart compile exe bin/bot_medium.dart -o bin/server
 ---> Running in ab4c98041acc
Info: Compiling with sound null safety
Generated: /app/bin/server
Removing intermediate container ab4c98041acc
 ---> bbb20f1d1a4e
Step 8/12 : FROM scratch
 --->
Step 9/12 : COPY --from=build /runtime/ /
 ---> c4a23b9f77c4
Step 10/12 : COPY --from=build /app/bin/server /app/bin/
 ---> 4b9c61aa381b
Step 11/12 : EXPOSE 8080
 ---> Running in 1a434ab35272
Removing intermediate container 1a434ab35272
 ---> e47cf083a71f
Step 12/12 : CMD ["/app/bin/server"]
 ---> Running in 761123b25035
Removing intermediate container 761123b25035
 ---> 98ba199f8aca
Successfully built 98ba199f8aca
Successfully tagged dart-server:latest
Important!
If you’ll try to run
docker build -t dart-server .with root user, it will throw AOT compile time error.
Ok, now let’s tell the system that you need the bot to be online 24/7. To do it run the following in terminal (do it with root user)
$ systemctl enable docker.service
$ systemctl enable containerd.service
Now let’s run our container! Execute the following (do it with duser): docker run -d — restart=always -p 8080:8080 \-v /var/upload:/var/upload \dart-server . The output will be something like the following:
duser@89-108-70-91:~$ cd ..
duser@89-108-70-91:/home$ cd bot_medium
duser@89-108-70-91:/home/bot_medium$ docker run -d --restart=always -p 8080:8080 \-v /var/upload:/var/upload \dart-server
2d46670198864b4adef9afa126c1e0b5c9917657b69aae7a5b01d0335700b1e2
duser@89-108-70-91:/home/bot_medium$
To check that our container is running execute docker ps in terminal, and the output will be as next:
duser@89-108-70-91:/home/bot_medium$ docker ps
CONTAINER ID   IMAGE         COMMAND             CREATED          STATUS          PORTS                                       NAMES
2d4667019886   dart-server   "/app/bin/server"   18 seconds ago   Up 17 seconds   0.0.0.0:8080->8080/tcp, :::8080->8080/tcp   vigorous_khayyam
duser@89-108-70-91:/home/bot_medium$
Finally our bot is online now. But this is not the end. Run the following to update Docker’s container settings: docker update --restart=always vigorous_khayyam . It will tell Docker to restart this container every time it’s went offline.
My container ID is vigorous_khayyam. You can get your container ID by running docker ps command. It will show you a list of running Docker containers, you can grab container’s ID from it’s output.
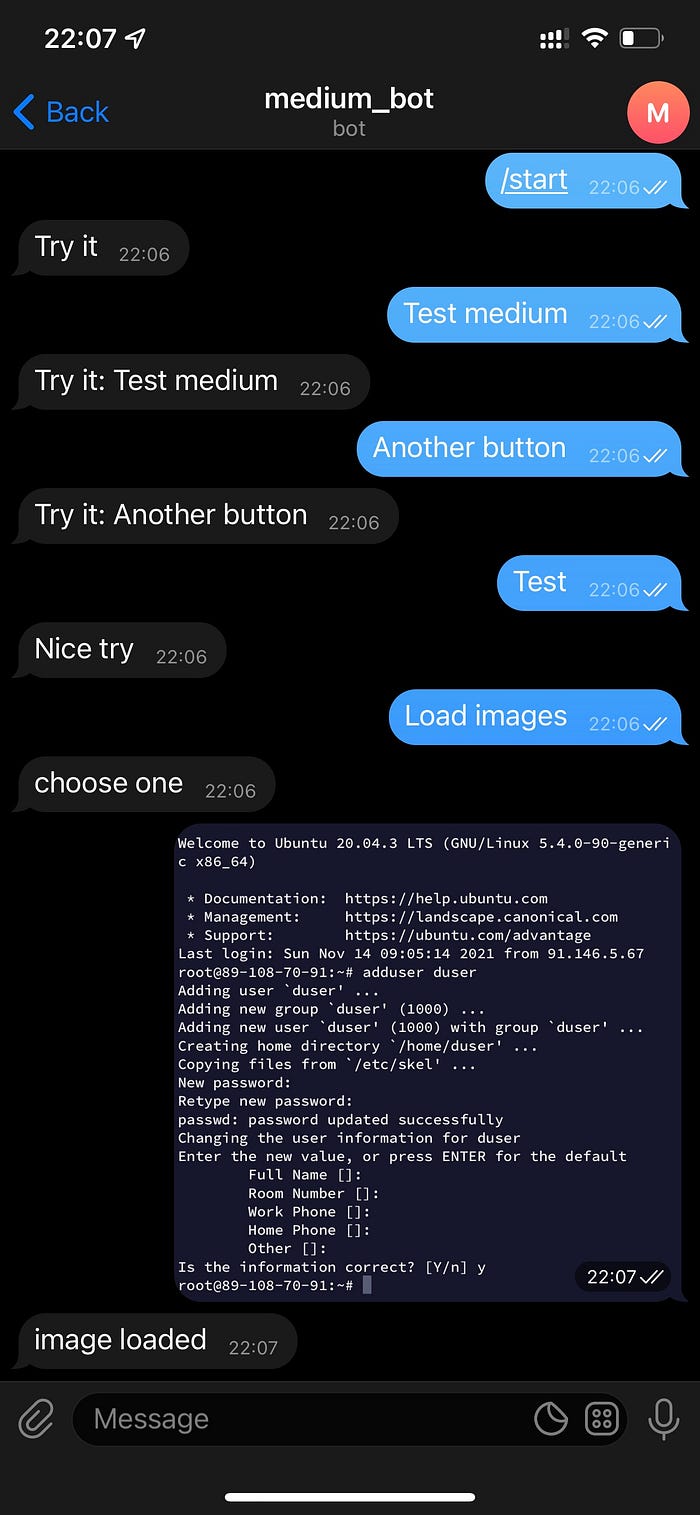
5. Testing
Let's try our bot!
Now let’s take a pause and check if everything goes right after we sent photo. Go to var/upload and type ls in that path, you will see a nested folder with the chat_id name:
duser@89-108-70-91:/home/bot_medium$ cd ..
duser@89-108-70-91:/home$ cd ..
duser@89-108-70-91:/$ cd var/upload
duser@89-108-70-91:/var/upload$ ls
415294329
duser@89-108-70-91:/var/upload$
Cool! Now let’s tap Delete images button in bot actions and check var/upload once more:
duser@89-108-70-91:/home/bot_medium$ cd ..
duser@89-108-70-91:/home$ cd ..
duser@89-108-70-91:/$ cd var/upload
duser@89-108-70-91:/var/upload$ ls
duser@89-108-70-91:/var/upload$
And it’s gone!
So now you can create a Telegram bot with Dart, Docker and VDS. This article also will be helpful for Flutter developers.
The bot_medium code you can find here.
The Telegram bot and VDS, that were used for this article, are deleted, so all specific data, like Telegram API token, or VDS IP address should be replaced.